Point and Shoot Camera for Night Photography: The Ultimate Guide
Nature photography is a rewarding yet challenging genre that requires the right equipment to capture stunning landscapes, wildlife, and intricate details of the natural world. While DSLRs and mirrorless cameras are popular choices, point-and-shoot cameras have evolved significantly, offering powerful features in a compact form. In this comprehensive guide, we’ll explore:
- Why choose a point-and-shoot for nature photography?
- Key features to look for
- Top point-and-shoot cameras for nature photography
- Tips for capturing breathtaking nature shots
- Accessories to enhance your photography
Whether you're a beginner or a seasoned photographer looking for a lightweight alternative, this guide will help you find the best point-and-shoot camera for nature photography.
Why Use a Point-and-Shoot Camera for Night Photography?
Point-and-shoot cameras are often overlooked for night photography, but they offer several advantages:
2. Large Sensors in Some Models
High-end point-and-shoots feature 1-inch or larger sensors, which perform well in low light.3. Fast Lenses
Many models have wide apertures (f/1.8–f/2.8), allowing more light for better night shots.4. Built-in Image Stabilization
Reduces blur from shaky hands, crucial for handheld night photography.5. Automatic Night Modes
Some cameras have dedicated night modes (e.g., Night Scene, Star Mode) for optimized low-light shooting.6. Long Exposure Support
Many advanced point-and-shoots allow manual shutter control (up to 30 seconds or more) for light trails and astrophotography.Key Features for Night Photography in a Point-and-Shoot Camera
Not all point-and-shoots excel in low light. Here’s what to look for:
1. Sensor Size
- Larger sensors (1-inch or APS-C) capture more light, reducing noise.
- Examples: Sony RX100 VII (1-inch), Fujifilm X100V (APS-C).
2. Aperture (f-stop)
- Wider apertures (f/1.8–f/2.8) perform best in low light.
3. ISO Performance
- Look for cameras that handle ISO 1600–6400 with minimal noise.
4. Manual Controls
- Manual mode (shutter speed, aperture, ISO) is essential for creative night shots.
5. Long Exposure Support
- At least 15–30 seconds shutter speed for light trails and star photography.
6. Image Stabilization
- 5-axis stabilization helps prevent blur in handheld shots.
7. RAW Support
- Allows better post-processing to reduce noise and enhance details.
8. Night-Specific Modes
Star Mode, Light Trail Mode, or Handheld Twilight Mode can be helpful.
Top 5 Point-and-Shoot Cameras for Night Photography
Here are the best point-and-shoot cameras for low-light conditions:
1. Sony Cyber-shot RX100 VII

- Sensor: 1-inch CMOS
- Aperture: f/2.8–4.5 (24–200mm equivalent)
- Features: Excellent high ISO performance, real-time tracking, 4K video
- Best for: Urban nightscapes and low-light action
2. Canon PowerShot G7 X Mark III

- Sensor: 1-inch CMOS
- Aperture: f/1.8–2.8 (24–100mm equivalent)
- Features: Great for handheld night shots, 4K video, RAW support
- Best for: Street photography and dimly lit scenes
3. Fujifilm X100V
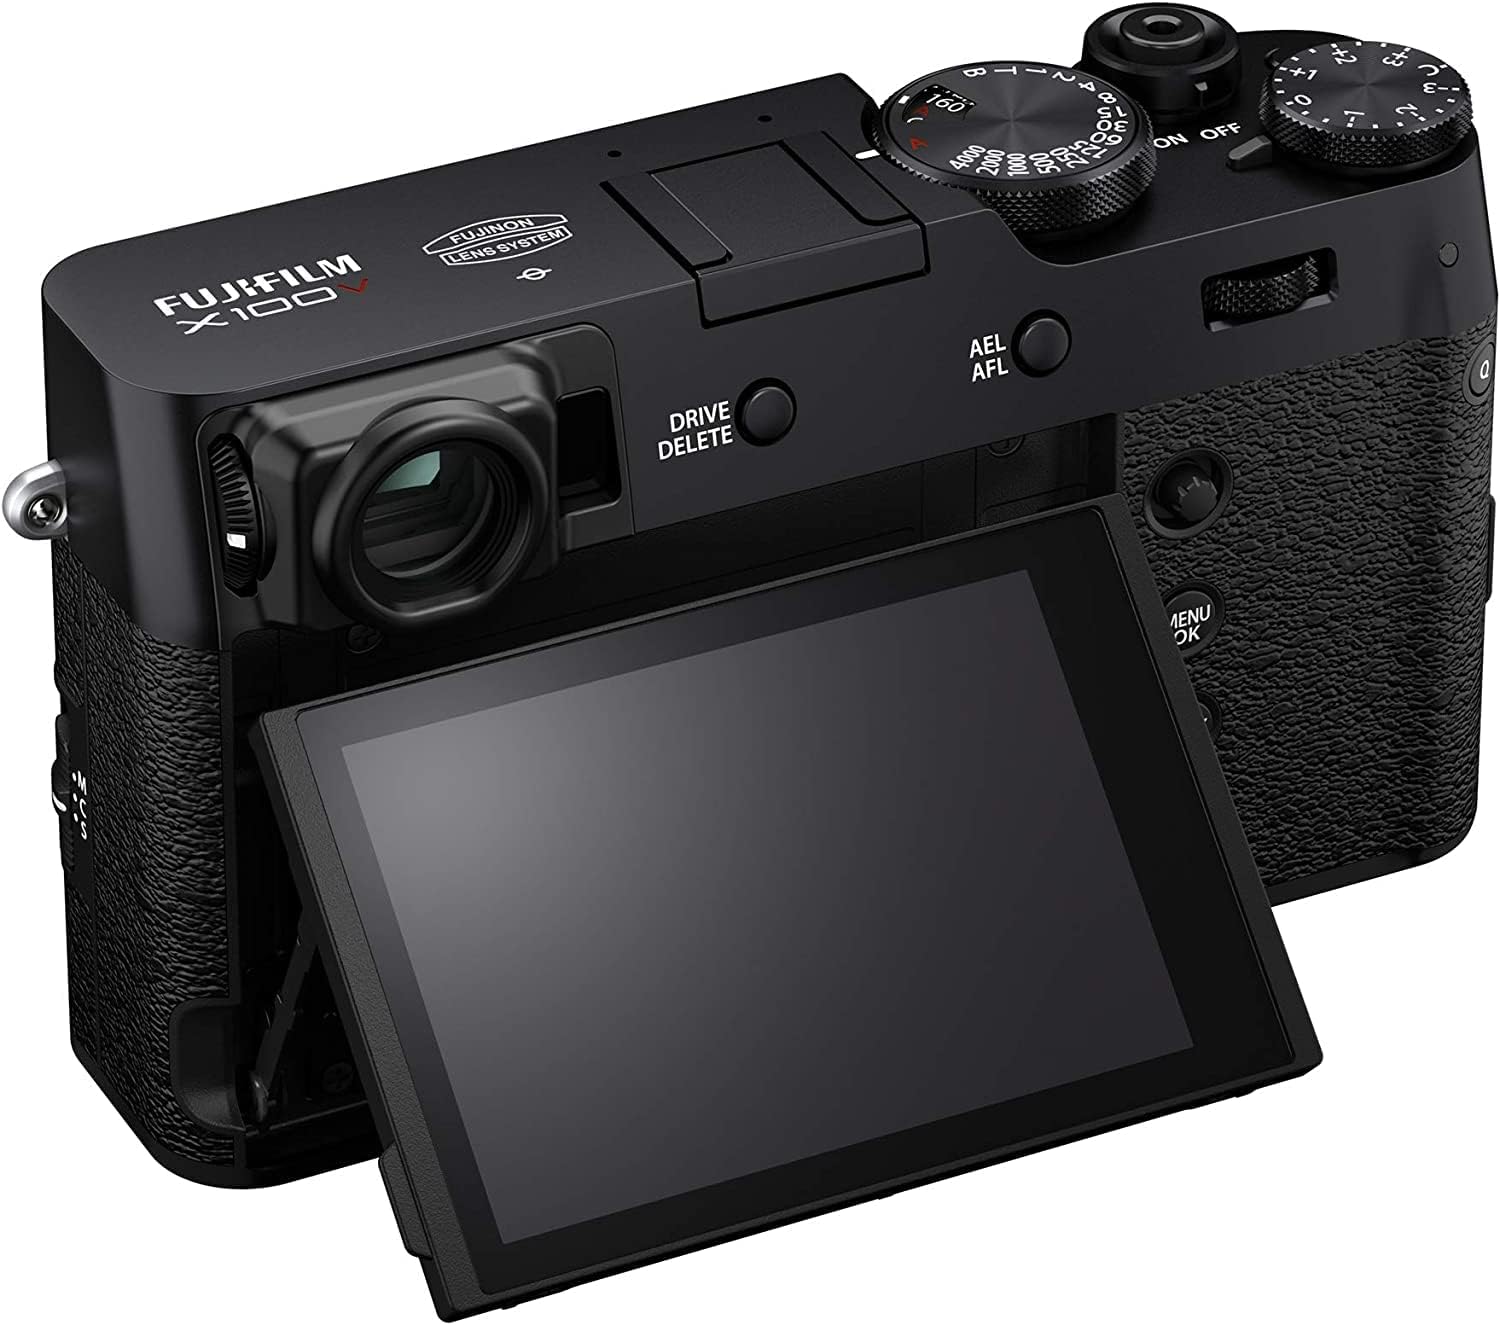
- Sensor: APS-C
- Aperture: f/2 (fixed 23mm lens, 35mm equivalent)
- Features: Superb low-light performance, film simulations, hybrid viewfinder
- Best for: Artistic night photography
4. Panasonic Lumix LX100 II

- Sensor: Micro Four Thirds
- Aperture: f/1.7–2.8 (24–75mm equivalent)
- Features: 4K video, manual controls, Leica lens
- Best for: Long exposures and astrophotography
5. Ricoh GR III

- Sensor: APS-C
- Aperture: f/2.8 (fixed 28mm equivalent)
- Features: Compact, sharp lens, great high-ISO handling
- Best for: Discreet night street photography
Tips for Night Photography with a Point-and-Shoot Camera
1. Use a Tripod for Stability
- Essential for long exposures (star trails, light painting).
2. Shoot in RAW for Better Editing
- More flexibility in adjusting shadows and reducing noise.
3. Lower ISO When Possible
- Use the lowest ISO that still allows proper exposure to minimize noise.
4. Experiment with Long Exposures
- Try 5–30 second exposures for light trails or starry skies.
5. Use Manual Focus in Low Light
- Autofocus can struggle at night—switch to manual for precision.
6. Enable Noise Reduction
- Some cameras have in-camera noise reduction for cleaner images.
7. Shoot During Blue Hour
- The period just after sunset or before sunrise offers dramatic skies.
Essential Accessories for Night Photography
- Tripod – A must for sharp long exposures.
- Mini LED Light – Helps with focusing in complete darkness.
- Remote Shutter Release – Prevents camera shake during long exposures.
- Neck Strap or Wrist Strap – Secures your camera in dark environments.
- Spare Batteries – Cold temperatures drain batteries faster.